Building Ork 002
May 14, 2021
This post is the second in a series of posts where I will document my building of the WordPress testing framework I would have liked to find when I started working with WordPress.
The name of this framework in-fieri is ork, and you can read more about it in the first post dedicated to it.
Getting the whole testing setup up and running
In my previous post, I've set up some basic tests that got some of the job done. Still, I would like to come back to those to set them up once, while the involved logic is straightforward for me to follow, addressing Continuous Integration and IDE integration to start on the right foot.
For CI, I've picked GitHub Actions: it comes included in my plan and is fast enough and reliable enough for my current needs.
Being the lover or make I am, I've set up the project Makefile to allow me to build and run the tests by sticking to the trusted pattern of make build && make test:
name: CLI App CI
on: [push]
jobs:
  bdd:
    runs-on: ubuntu-latest
    steps:
      - uses: actions/checkout@v2
        with:
          ref: 'main'
      - run: cd app && make build && make test
Not much to see here.
To avoid the back and forth of testing GitHub Actions through pushing and waiting for the worker to run, I'm using nektos/act. The one-file binary will run any workflow in the project .github directory using a container image that is the same as the one used by GitHub actions workers for most intents and purposes.
I have configured my machine ~/.actrc file to correctly alias the ubuntu machines.
-P ubuntu-latest=nektos/act-environments-ubuntu:18.04
-P ubuntu-18.04=nektos/act-environments-ubuntu:18.04
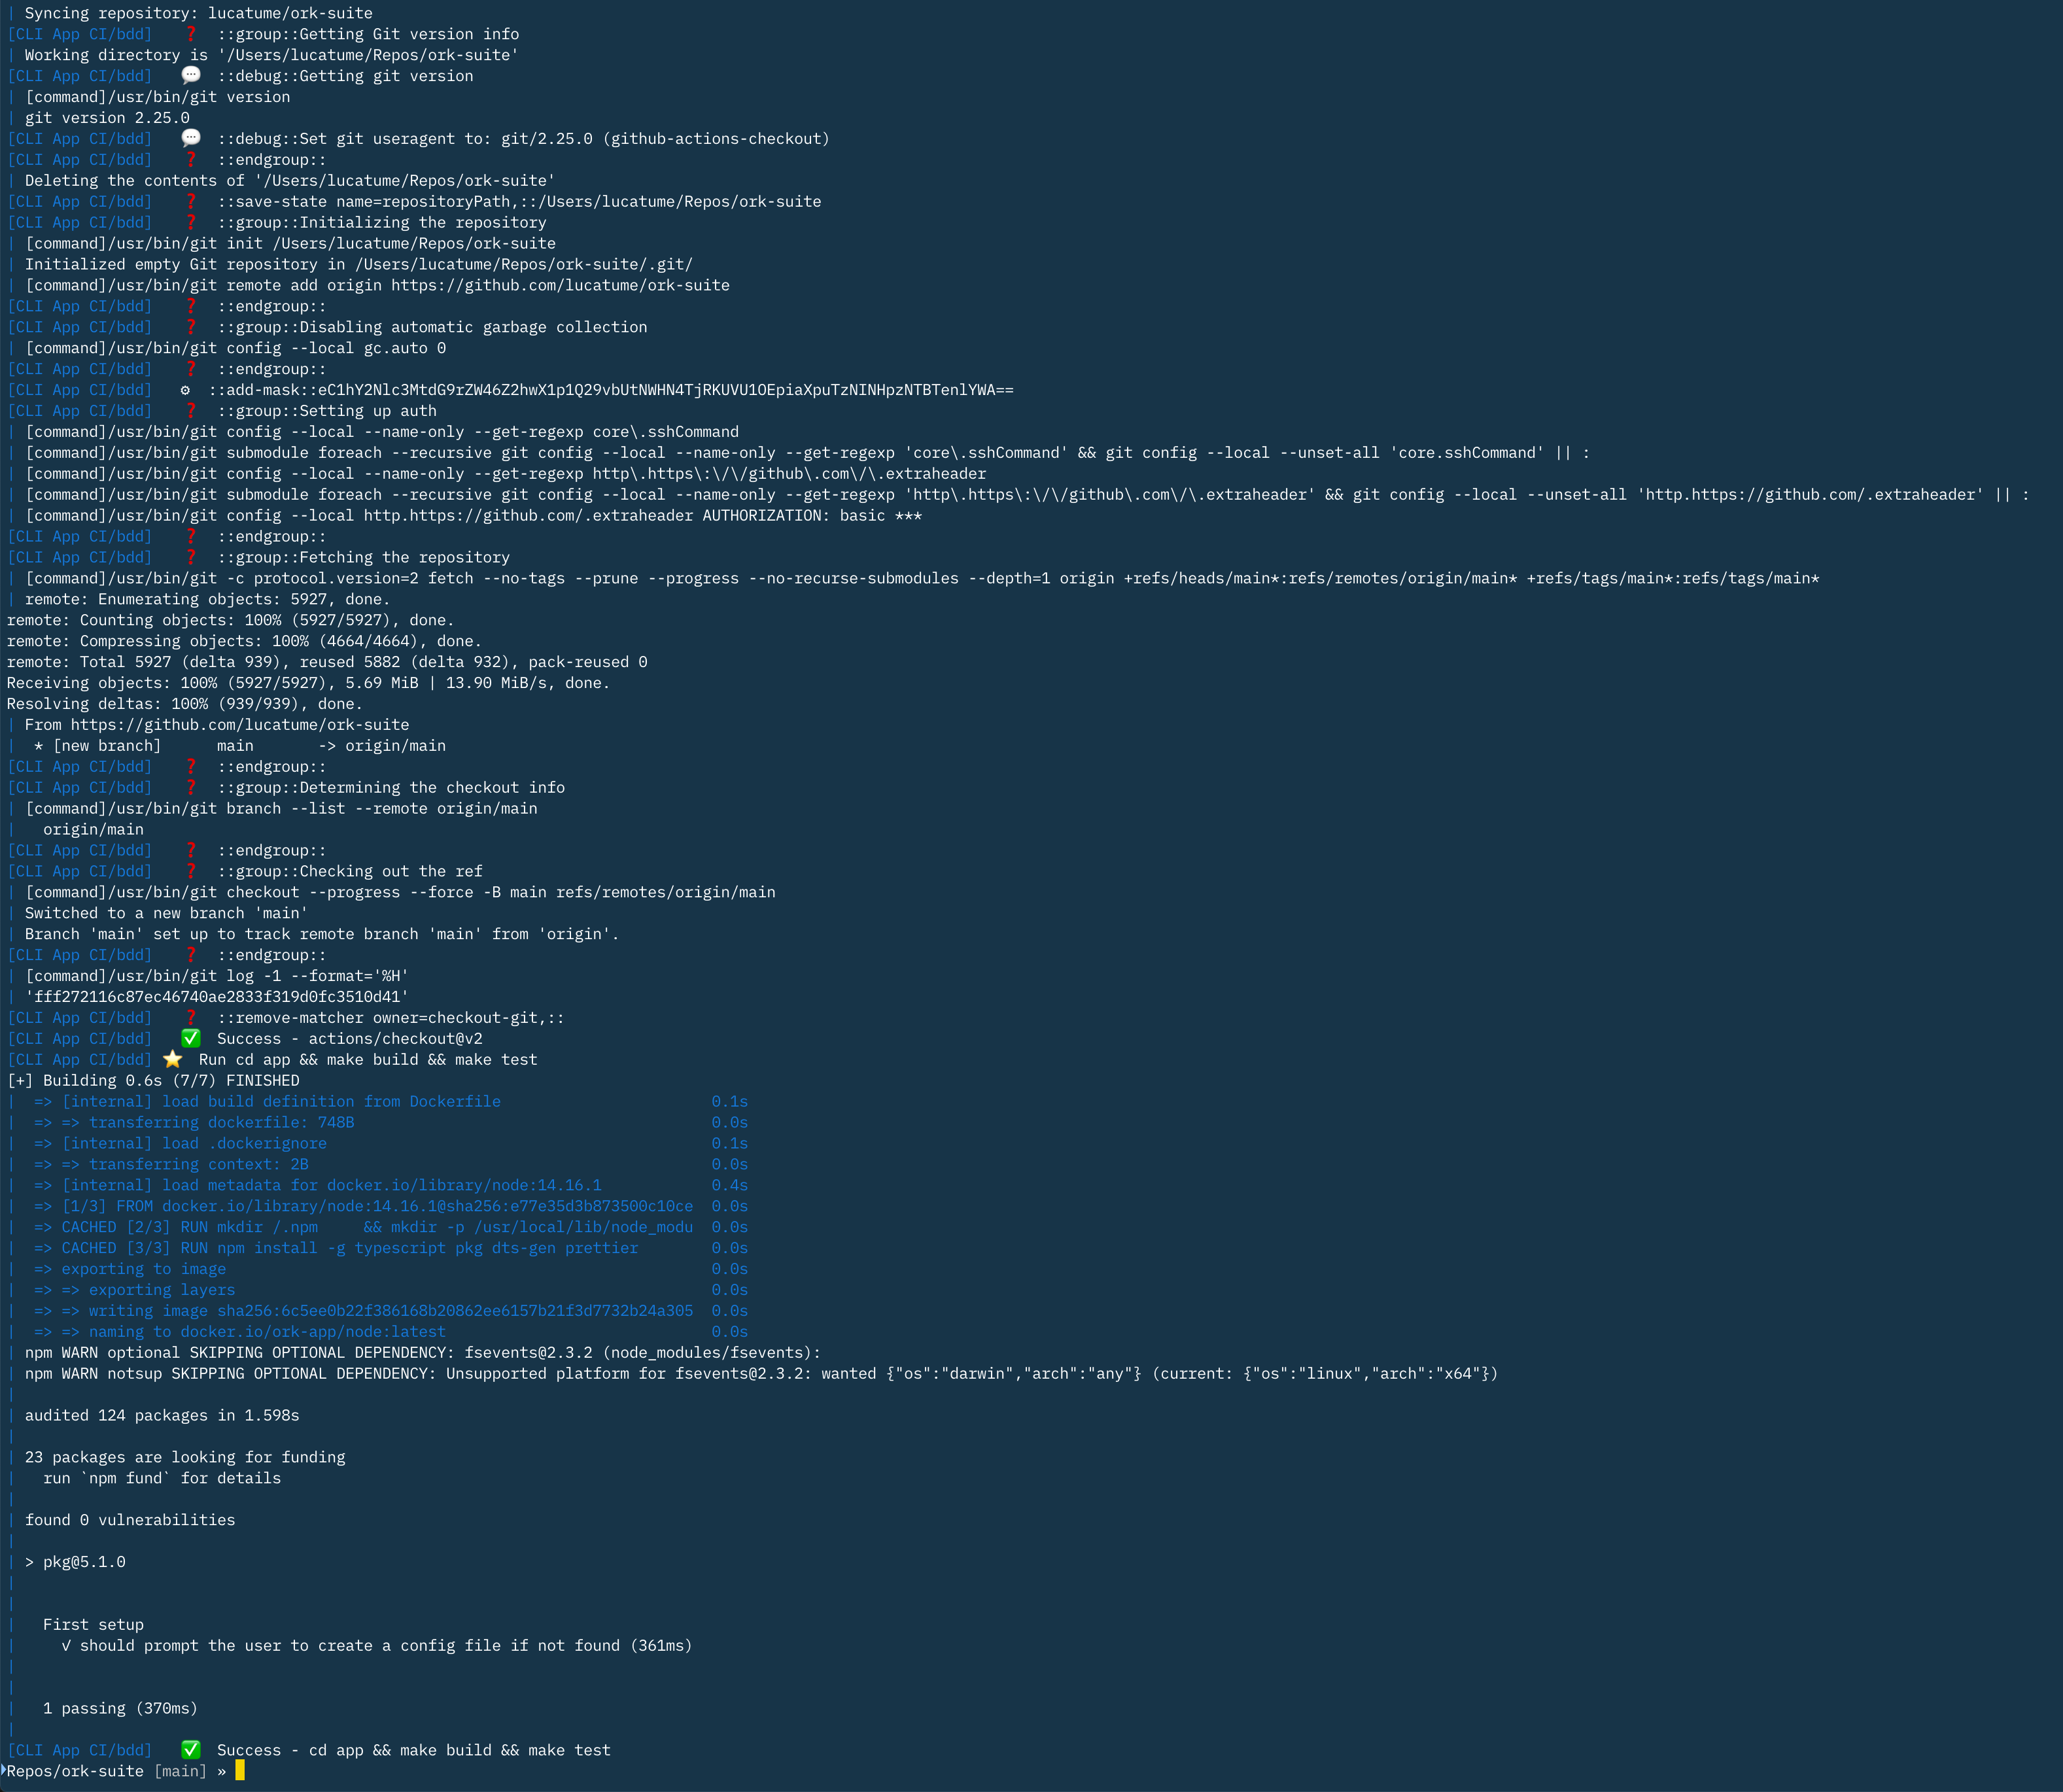
After confirming the tests are passing locally, I've been rewarded with a green light on GitHub Actions too.
Just a note: act will simulate the GitHub Actions environment almost perfectly, but the GITHUB_TOKEN environment variable that GitHub Actions will set up by default will be missing.
Since I'm working in a private repository, I've created a token dedicated to nektos/act in the ~/.github-token file that I export at run time to allow act to pull and test private dependencies the same way GitHub Actions would access them:
GITHUB_TOKEN="$(<${HOME}/.github-token)" act
This token definition is all it takes for act to work correctly.
Laying out the first steps
I made a habit of starting my development work from the end.
This approach helps me thinking of the "what" before thinking about the "how".
The project requirements will, roughly, be:
- Download
orkfor your current operating system somewhere the terminal can execute it from your terminal emulator of choice. - Use whatever local development webserver solution you want to host your development WordPress server.
- Navigate to the directory where your testing project will live.
- Run
orkand start testing.
Point 2 above, especially, is something I care about.
One of the things the wp-browser project taught me is I should not make assumptions about what operating system, or development stack, different developers will use to create, maintain and test WordPress projects.
There are many solutions available for WordPress developers, ranging from PHP built-in server to Mamp and other host-based solutions to complex Docker-based stacks or virtual machines.
Each one has its complications from the perspective of a testing framework: some are running "on the metal" (e.g., PHP built-in server, Mamp or valet), some are using containers (e.g., Devilbox or the previous version of Local by Flywheel) and some others are using virtual machines (e.g., the VVV project).
Understanding where the PHP server serving the development WordPress server is, in respect to the machine that is executing the tests, is where several users get lost and give up.
Say I have set up Codeception tests with wp-browser on my host machine. I've installed WordPress, locally, at /Users/lucatume/Sites/wp, but I am running my tests from within a Docker container. The path to the WordPress installation will probably be /var/www/html as that is the path to the WordPress installation in the default WordPress Docker image.
The point is: there are plenty configurations and local development server solutions out there that work for those using them.
I want ork to remove the friction of dealing with each and "just work" as long as one can visit the WordPress site using a browser.
Can you go to https://wordpress.local? Fine, ork should work.
Do you have your site served with PHP built-in server at http://localhost:8888? This setup, too, is fine, ork should work with it.
Have you set up WordPress with docker-compose where Docker runs into a Linux VM running, in turn, on your Windows machine? If you can visit the WordPress site from your browser, then ork should work.
All the different setups above have in common that the user can visit the development site URL. The ork binary will have to rely, at least initially, only on that piece of information to work.
The first step, then, assuming points 1 to 3 are taken care of by the user, is to model the following scenario:
» mkdir ork-tests
» cd ork-tests
» ork

What is the URL of the site you would like to test? ork.local

Checking site URL ... ok
Creating the first spec ... ok
Running specs ...

  Homepage
    √ it works (410ms)

  1 passing (422ms)
Those familiar with JS testing should recognize mocha BDD output.
Since I'm currently using it to power my tests, I've just used the inspiration to draft this imaginary CLI output.
There's a bit to get done before getting to the actual running of tests, in any case, so I better get to it.
Testing a binary and the command line
The first test I would like to write, in Gherkin syntax, would read out like this:
Given I have changed the directory to one that does not contain an `ork` configuration file
When I run `ork`
Then I should be asked to provide the URL of the site I would like to run tests for
And I should see an `ork.config.json` file created containing the URL I provided
This seems a simple enough test to translate into a mocha test.
It turned out not to be that simple for me, though.
Being, in essence, a novice when it comes to NodeJs development, it took me some time to come to terms with how
the loop of execution is structured and how my code will execute.
Starting from the end here is the first test I wrote that is, currently, passing:
// test/FirstSetup.js

const { existsSync } = require('fs')

// I've created a test support library of functions to allow me to write tests the way I want.
const { invokeOrk, mkTmpDir, forFile, toReadFile } = require('./_support.js')

// I'm using `chai` to write assertions in spec/BDD format.
const expect = require('chai').expect

describe('First setup', function () {
  it('should prompt the user to create config file if not found', async function () {
    // As a first step, create a test directory in the test/_output directory. Yes, Codeception habit.
    const tmpDir = mkTmpDir()

    // This is where the configuration file should be, if everything goes according to plan.
    const configFilePath = tmpDir + '/ork.json'

    // To begin with, the file should not exist.
    expect(existsSync(configFilePath)).to.be.false

    // More on this later, I invoke the compiled binary in the test directory.
    let event = await invokeOrk([], { cwd: tmpDir })

    // The first event should be output coming from the binary, asking the site URL.
    expect(event.type).to.equal('stdout')
    expect(event.data).to.match(/url.*site/i)

    // Reply to the request with `ork.local`.
    event.proc.stdin.write('ork.local\n')

    // Wait up to 5s for the configuration file to appear.
    const exists = await forFile(configFilePath, 5000)
    expect(exists).to.be.true

    // Read the configuration file contents and make sure they are correct.
    const configFileContents = await toReadFile(configFilePath, 'utf-8')
    const config = JSON.parse(configFileContents)
    expect(config.url).to.equal('http://ork.local')
  })
})
There are some "gotchas" I collected along the way.
They might be obvious to more experienced Node developers, but this is all pretty new to me:
- Due to Node single-thread nature, blocking that only thread on one operation cannot be done. The single thread nature of Node is not that different from PHP, what makes it very different is that thread is also the one in charge of handling the user input, and blocking it would mean freezing any UI; there is no UI in PHP. The issue is not that pressing in a CLI application, but most Node primitives are not synchronous, and they will yield control immediately. Appreciating and understanding this required some adjustment on my side.
- All this async code can be made sync-ish using
async\await; "ish" as what will happen is that Node will move to another task at the same scope level. - Most existing primitives can be "promisified" to make them return promises when they would, instead, fire callbacks when something happens.
Grasping all the above did take me some time, but I'm pretty satisfied with two solutions in particular in thetest/_support.js file.
The first is the one that allows me to run the sub-process that is running the ork binary in "events".
Possible events are stdout, error, stderr and exit.
Each event will return a Promise to get the next event, and this is what allows me to write event-by-event
tests in my first spec and writing the test above in a way that closely resembles the interaction the user
would have with the CLI:
// Build a Promise for the process next event.
function processPromise (proc) {
   return new Promise(function (resolve, reject) {
      for (let eventName of ['error', 'data', 'exit']) {
         for (listener of proc.listeners(eventName)) {
            proc.off(eventName, listener)
         }
      }

      proc.on('error', function (error) {
         reject(error)
      })

      proc.stdout.on('data', function (chunk) {
         resolve({ type: 'stdout', data: chunk, proc: proc, next: processPromise(proc) })
      })

      proc.stderr.on('data', function (chunk) {
         resolve({ type: 'stderr', data: chunk, proc: proc, next: processPromise(proc) })
      })

      proc.on('exit', function (code) {
         resolve({ type: 'exit', data: code, proc: proc, next: processPromise(proc) })
      })
   })
}

async function invokeOrk (args = [], options = {}) {
   const mergedOptions = {
      ...{
         env: { ...process.env, ...{ NODE_OPTIONS: '' } },
         stdio: ['pipe', 'pipe', 'pipe'],
      }, ...options
   }

   // Spawn the process, an async task, and set up some defaults.
   const proc = spawn(locateBin(), args, mergedOptions)
   proc.stdout.setEncoding('utf8')
   proc.stderr.setEncoding('utf8')

   // Return the Promise that will yield the process first event; probably output or an error.
   return processPromise(proc)
}
The next piece of code I'm proud of is the one that allows me to wait for the file to come into existence.
In the tests, I use it to wait for the configuration file to appear, but I'm sure it will come in handy again:
// The name is to follow its most likely use of `await forFile`.
async function forFile (file, timeout = 5000) {
   return new Promise(function (resolve, reject) {
      const basename = file.replace(dirname(file) + '/', '')

      if (fs.existsSync(file)) {
         // If the file already exists when we start, resolve now.
         resolve(true)
      }

      // Set a timeout: either the files appears before it runs out, or fail.
      const timeoutRef = setTimeout(() => {
         watcher.close()
         resolve(false)
      }, timeout)

      // Start watching the directory that should contain the file.
      const watcher = fs.watch(dirname(file), async (eventType, filename) => {
         if (eventType === 'rename' && filename === basename) {
            if (fs.existsSync(file)) {
               // The file came into existence, block the timer and resolve.
               watcher.close()
               timeoutRef.unref()
               resolve(true)
            }
         }
      })
   })
}
Finally, the test output at the end of all the tribulation:
» make test


  First setup
    ✓ should prompt the user to create a config file if not found (354ms)


  1 passing (360ms)

» tree -L 3 test/_output
test/_output
└── dirs
    └── KJvSkAw4Nj
        └── ork.json

2 directories, 1 file
» cat test/_output/dirs/KJvSkAw4Nj/ork.json
{
  "url": "http://ork.local"
}
Next
Getting to this first test to pass took some effort, but I'm glad I did it.
Next time I will get the CLI output, right now pretty spartan, into shape and extend the functionalities using BDD.