Docker and docker-compose for WordPress testing - 02
June 6, 2020
Previously, in this series
In the first post in this series, I've covered the basic stuff: what Docker and docker-compose are and how they could enable a portable environment for development, and more interesting to me, testing WordPress projects.
In this second article, I will highlight a less covered issue that might seriously impede, or stop altogether, the adoption and use of Docker as a testing environment for WordPress projects.
I've concluded the previous article with this docker-compose.yml file:
version: '3.1'

volumes:

  db:

services:

  wordpress:
    image: wordpress
    restart: always
    ports:
      - 8080:80
    environment:
      WORDPRESS_DB_HOST: db
      WORDPRESS_DB_USER: exampleuser
      WORDPRESS_DB_PASSWORD: examplepass
      WORDPRESS_DB_NAME: exampledb
    volumes:
      # Not using the volume defined in the volumes section anymore, so I've removed it.
      # The `.` means "from the directory that contains this file", where "this file" is the docker-compose.yml file.
      - ./_wordpress:/var/www/html

  db:
    image: mysql:5.7
    restart: always
    environment:
      MYSQL_DATABASE: exampledb
      MYSQL_USER: exampleuser
      MYSQL_PASSWORD: examplepass
      MYSQL_RANDOM_ROOT_PASSWORD: '1'
    volumes:
      - db:/var/lib/mysql
The file allows me to run a fully working WordPress installation run locally on my macOS machine. The next step, for this stack to be defined "portable", is to try and spin it up on Windows and Linux machines.
Running the stack on Windows
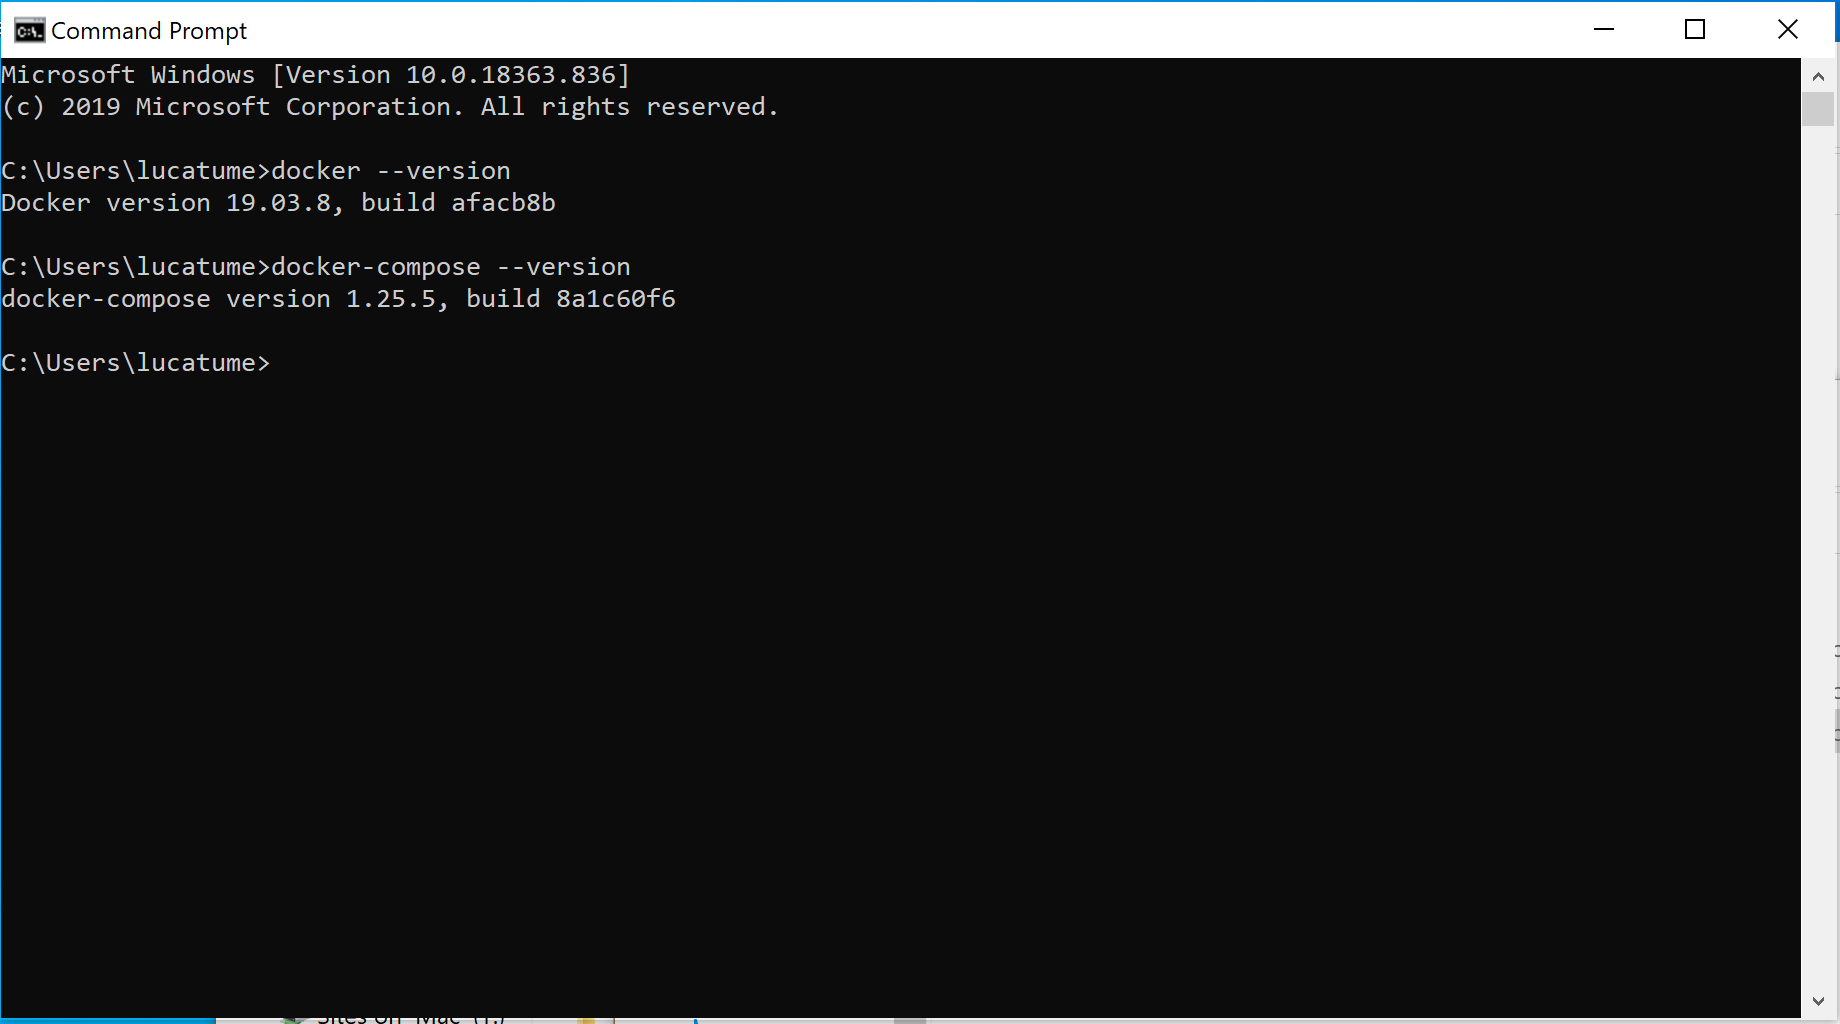
On Windows, docker and docker-compose can be installed using the Docker for Windows application; there is nothing else to do after installing it but start the Docker for Desktop application.
I can check the version of both commands in a vanilla Windows terminal emulator (Command Prompt):
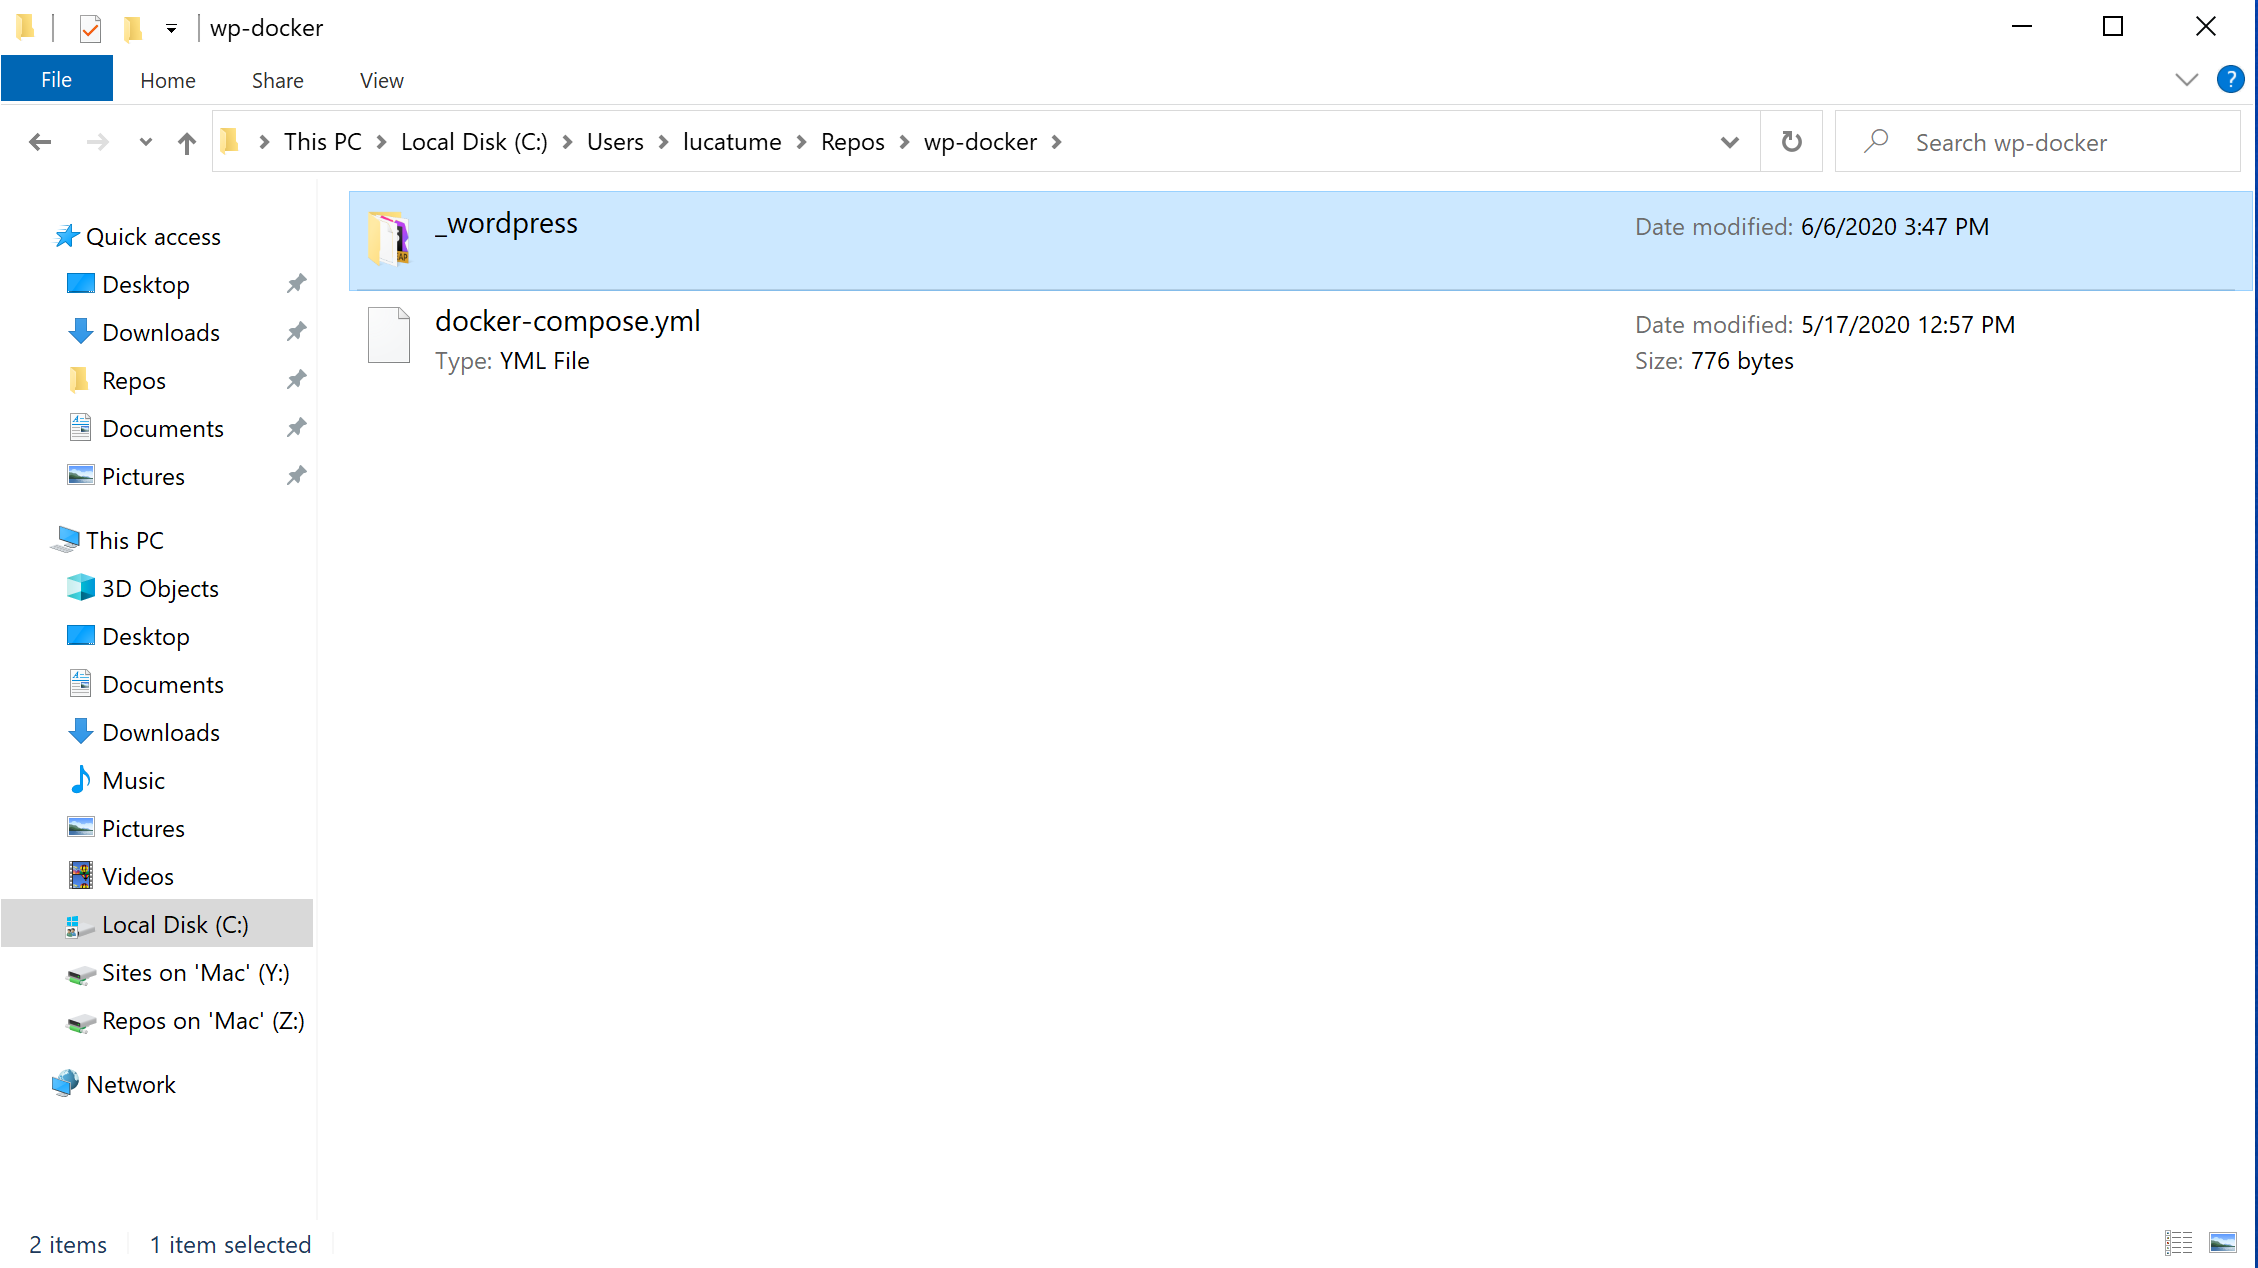
The structure and content of the directory I'm using are similar to the use I used on macOS:
- The project lives in the
C:\Users\lucatume\Repos\wp-dockerdirectory. - The directory only contains, to start, the
docker-compose.ymlfile.
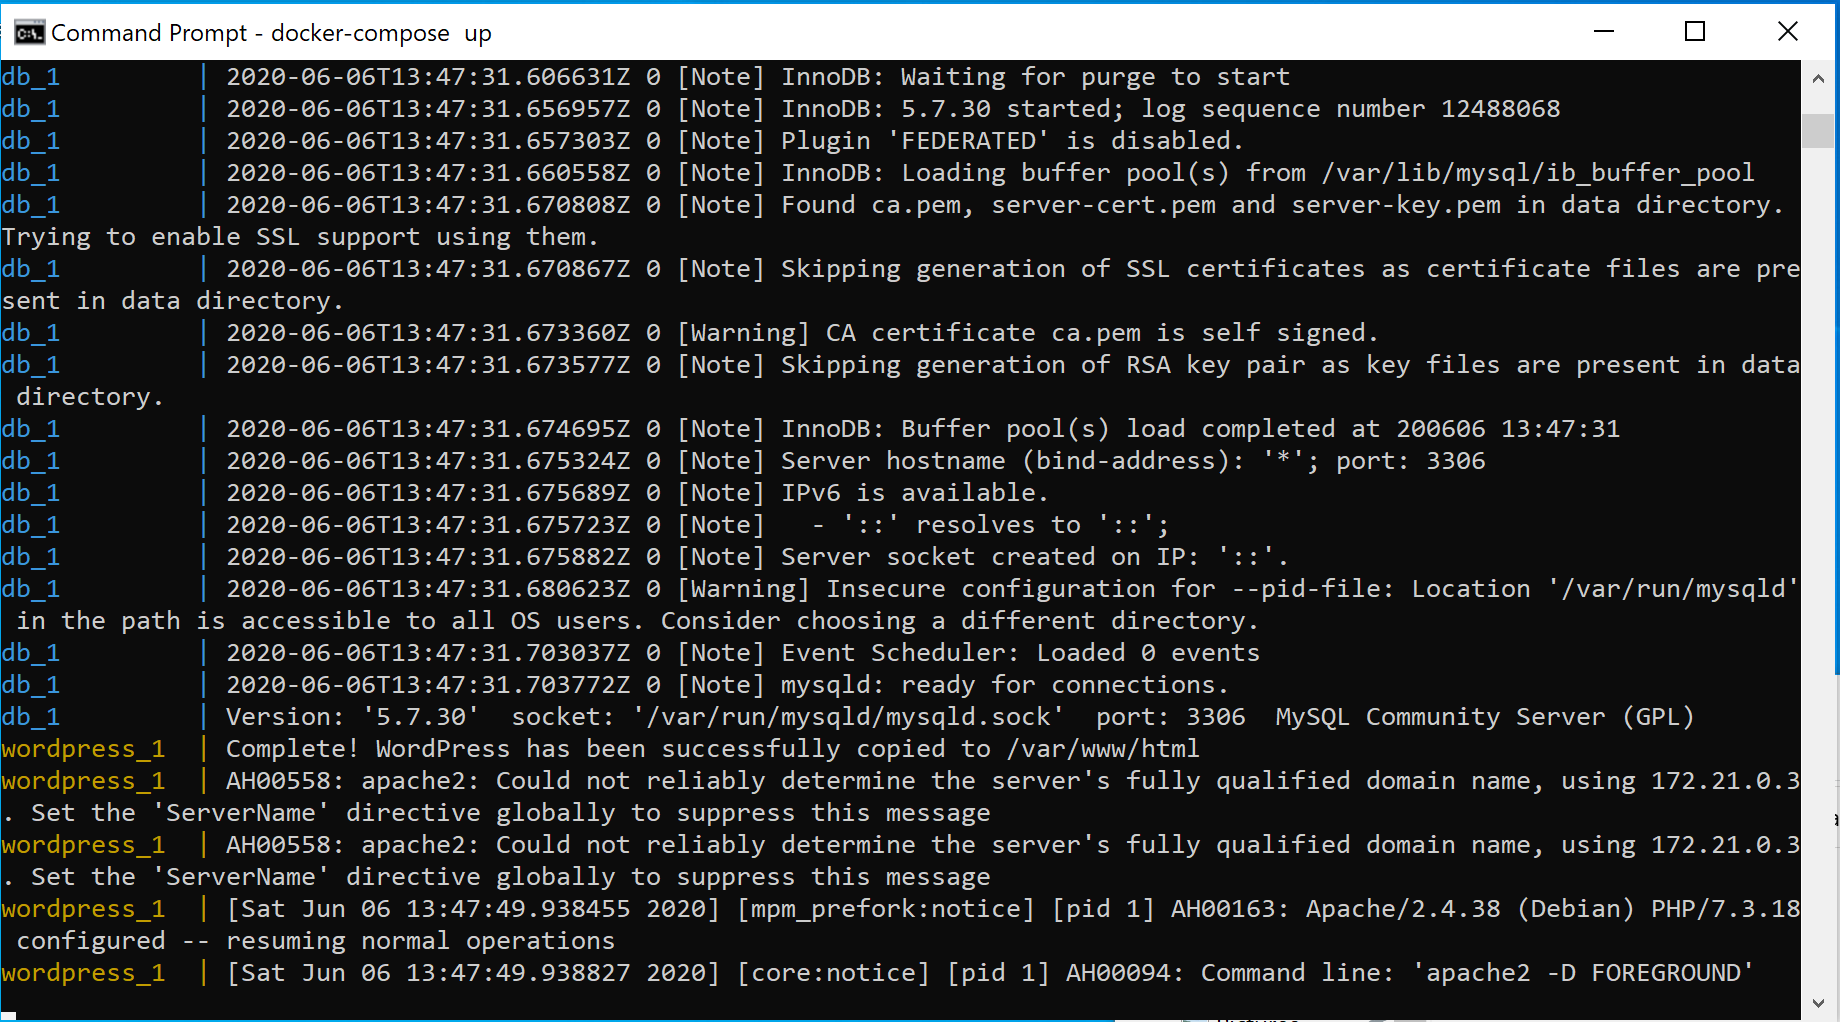
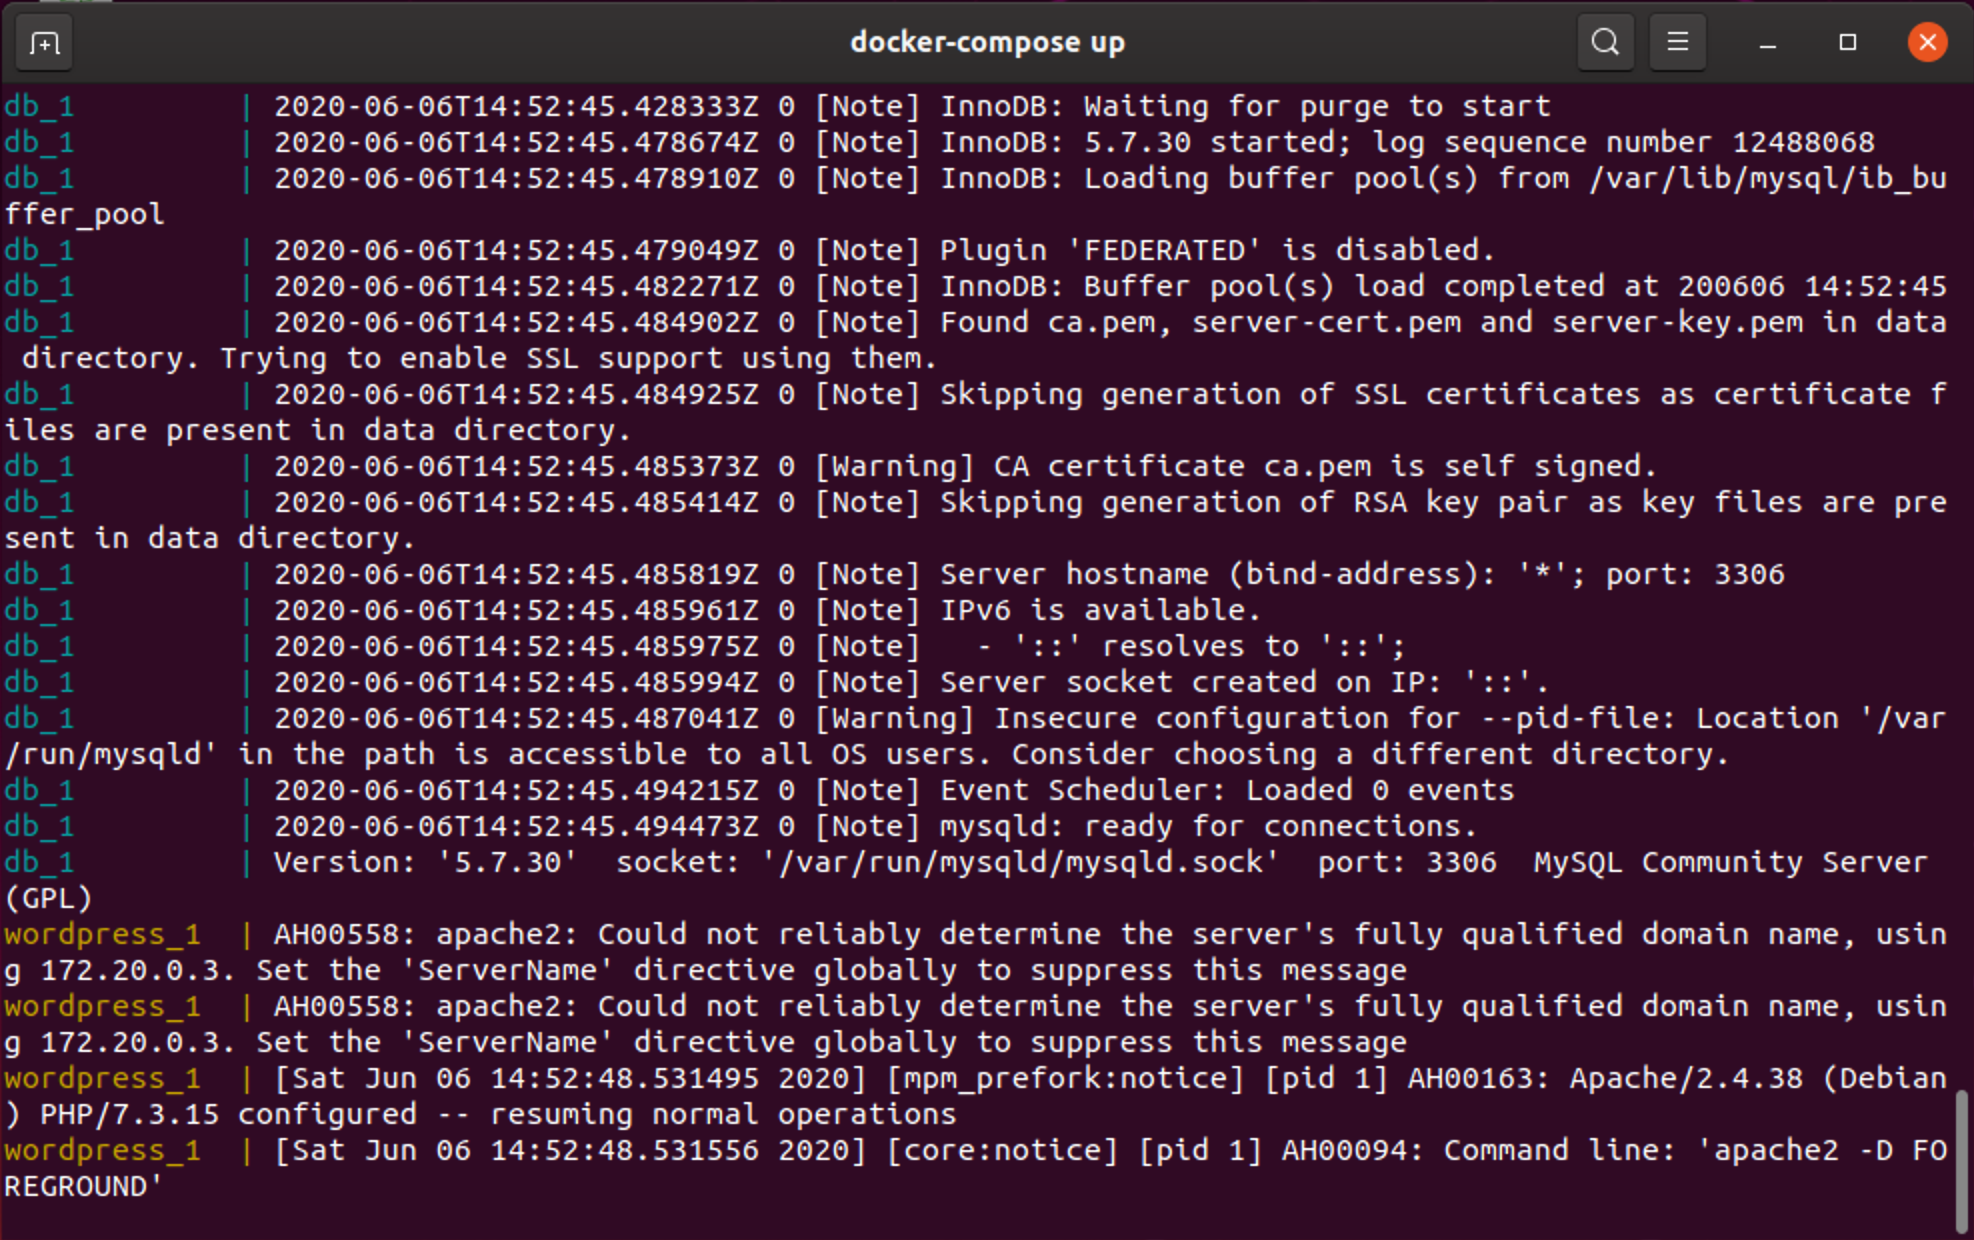
I run the docker-compose up command and wait for images to download and the containers based on the instances to start.
Following the initial set up, the command prompt will tail the logs of the the db and wordpress services, as it happened on macOS, docker-compose created a _wordpress directory where WordPress files are stored, and made WordPress available, locally, at http://localhost:8080:
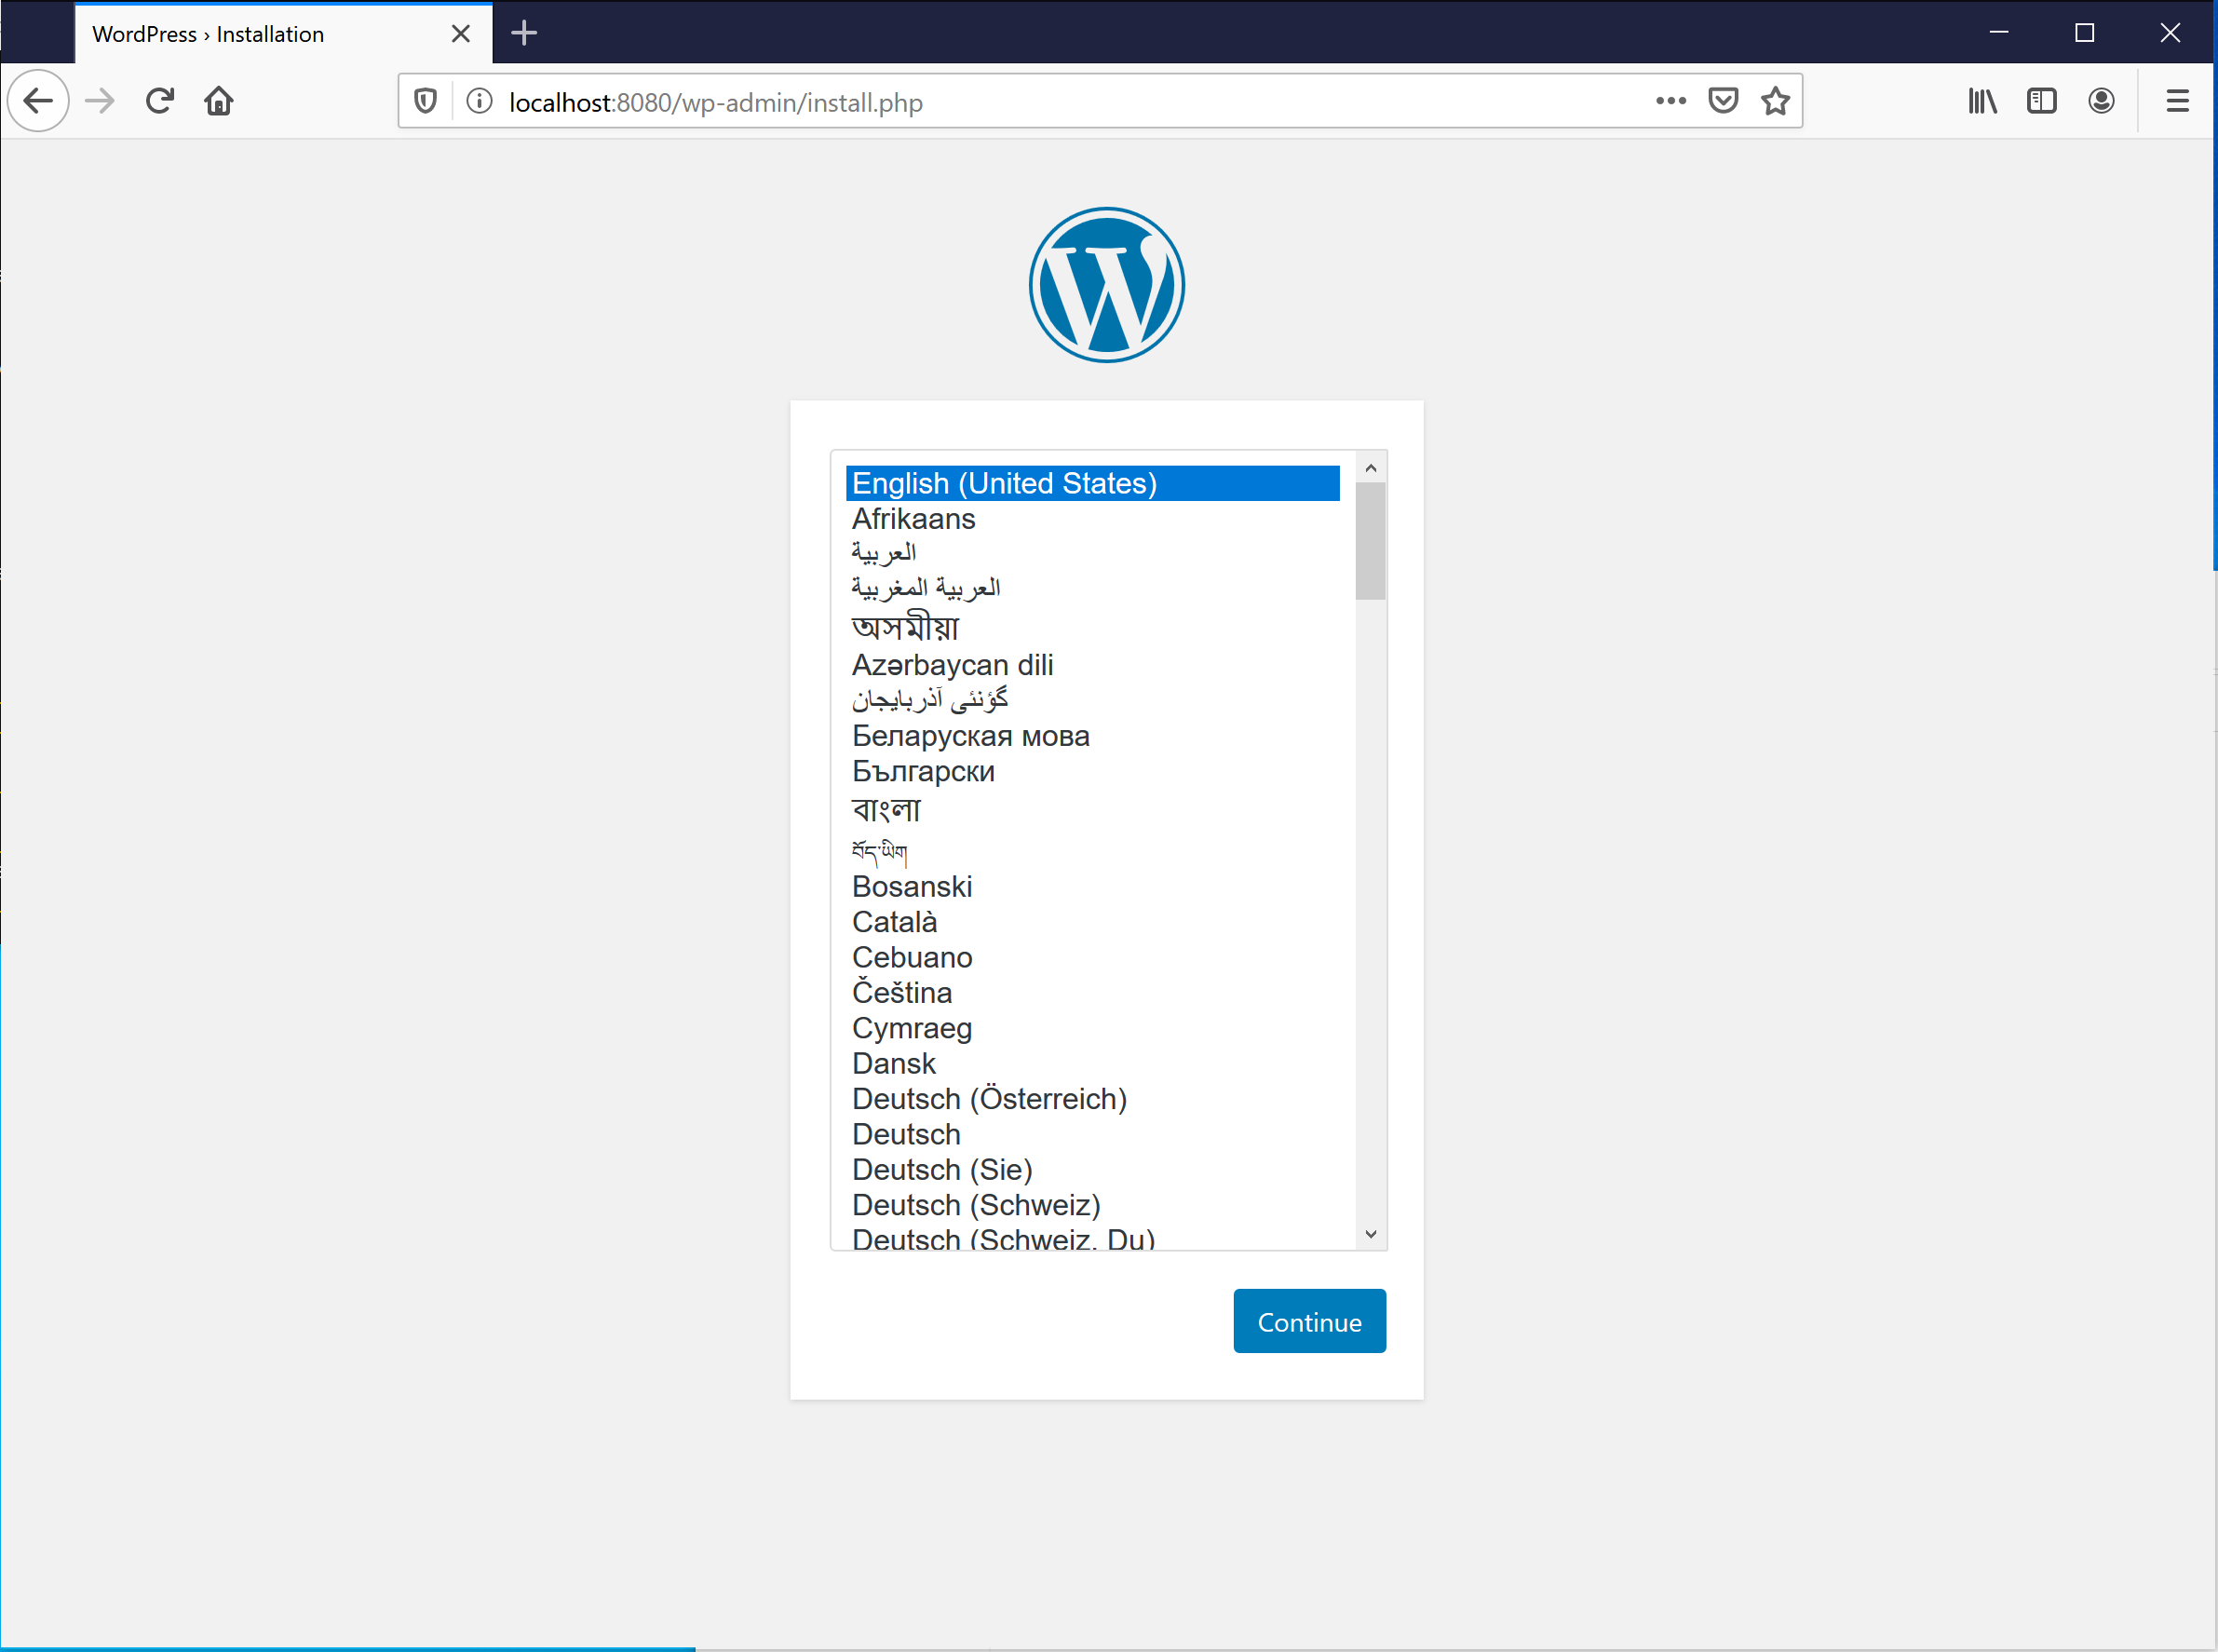
After completing the WordPress installation using the UI, I want to make sure file modification will work both ways:
- Adding, modifying, or deleting a file on the Windows host will alter the content of the WordPress installation served at
http://localhost:8080. - Adding, modifying, or deleting a file using the installation UI, say adding a plugin, will reflect on the contents of the
_wordpressdirectory.
First I runt this command from the C:\Users\lucatume\Repos\wp-docker directory:
del /f .\wp-content\plugins\hello.php
As expected the "Hello Dolly" plugin does not appear in the list of available plugins in the WordPress installation:
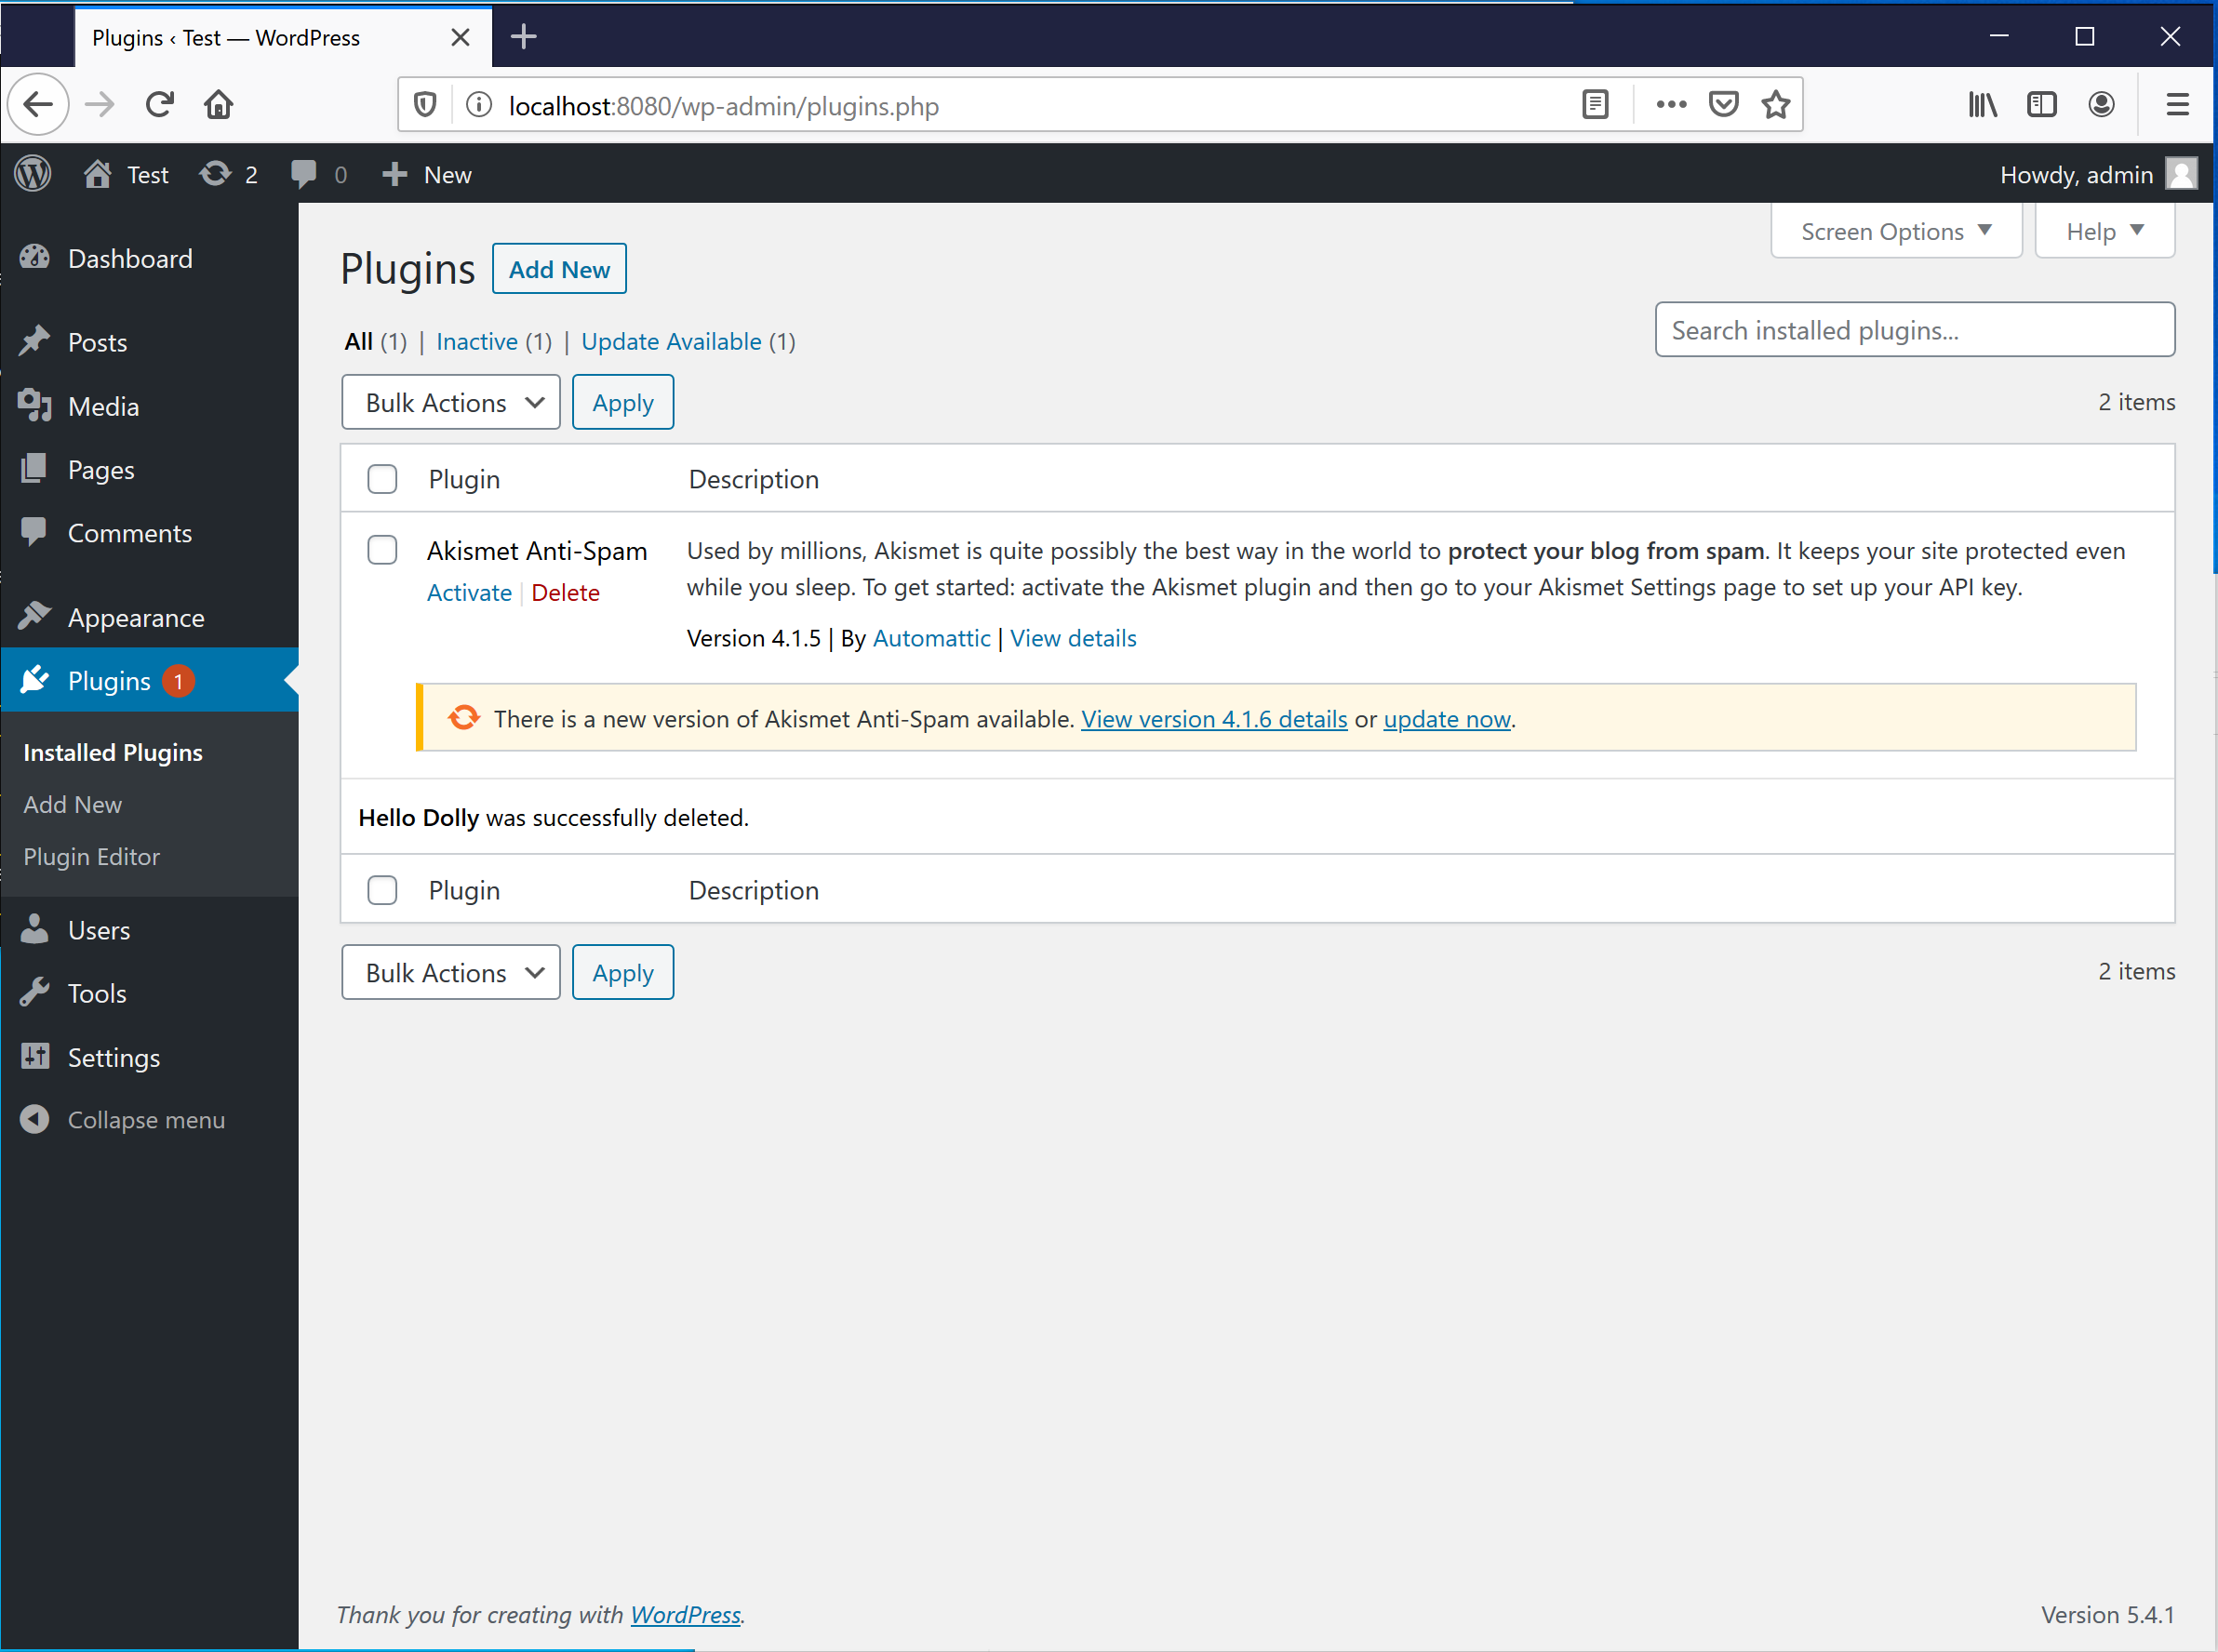
I, now, try to re-add the plugin using the WordPres installation plugin administration UI:

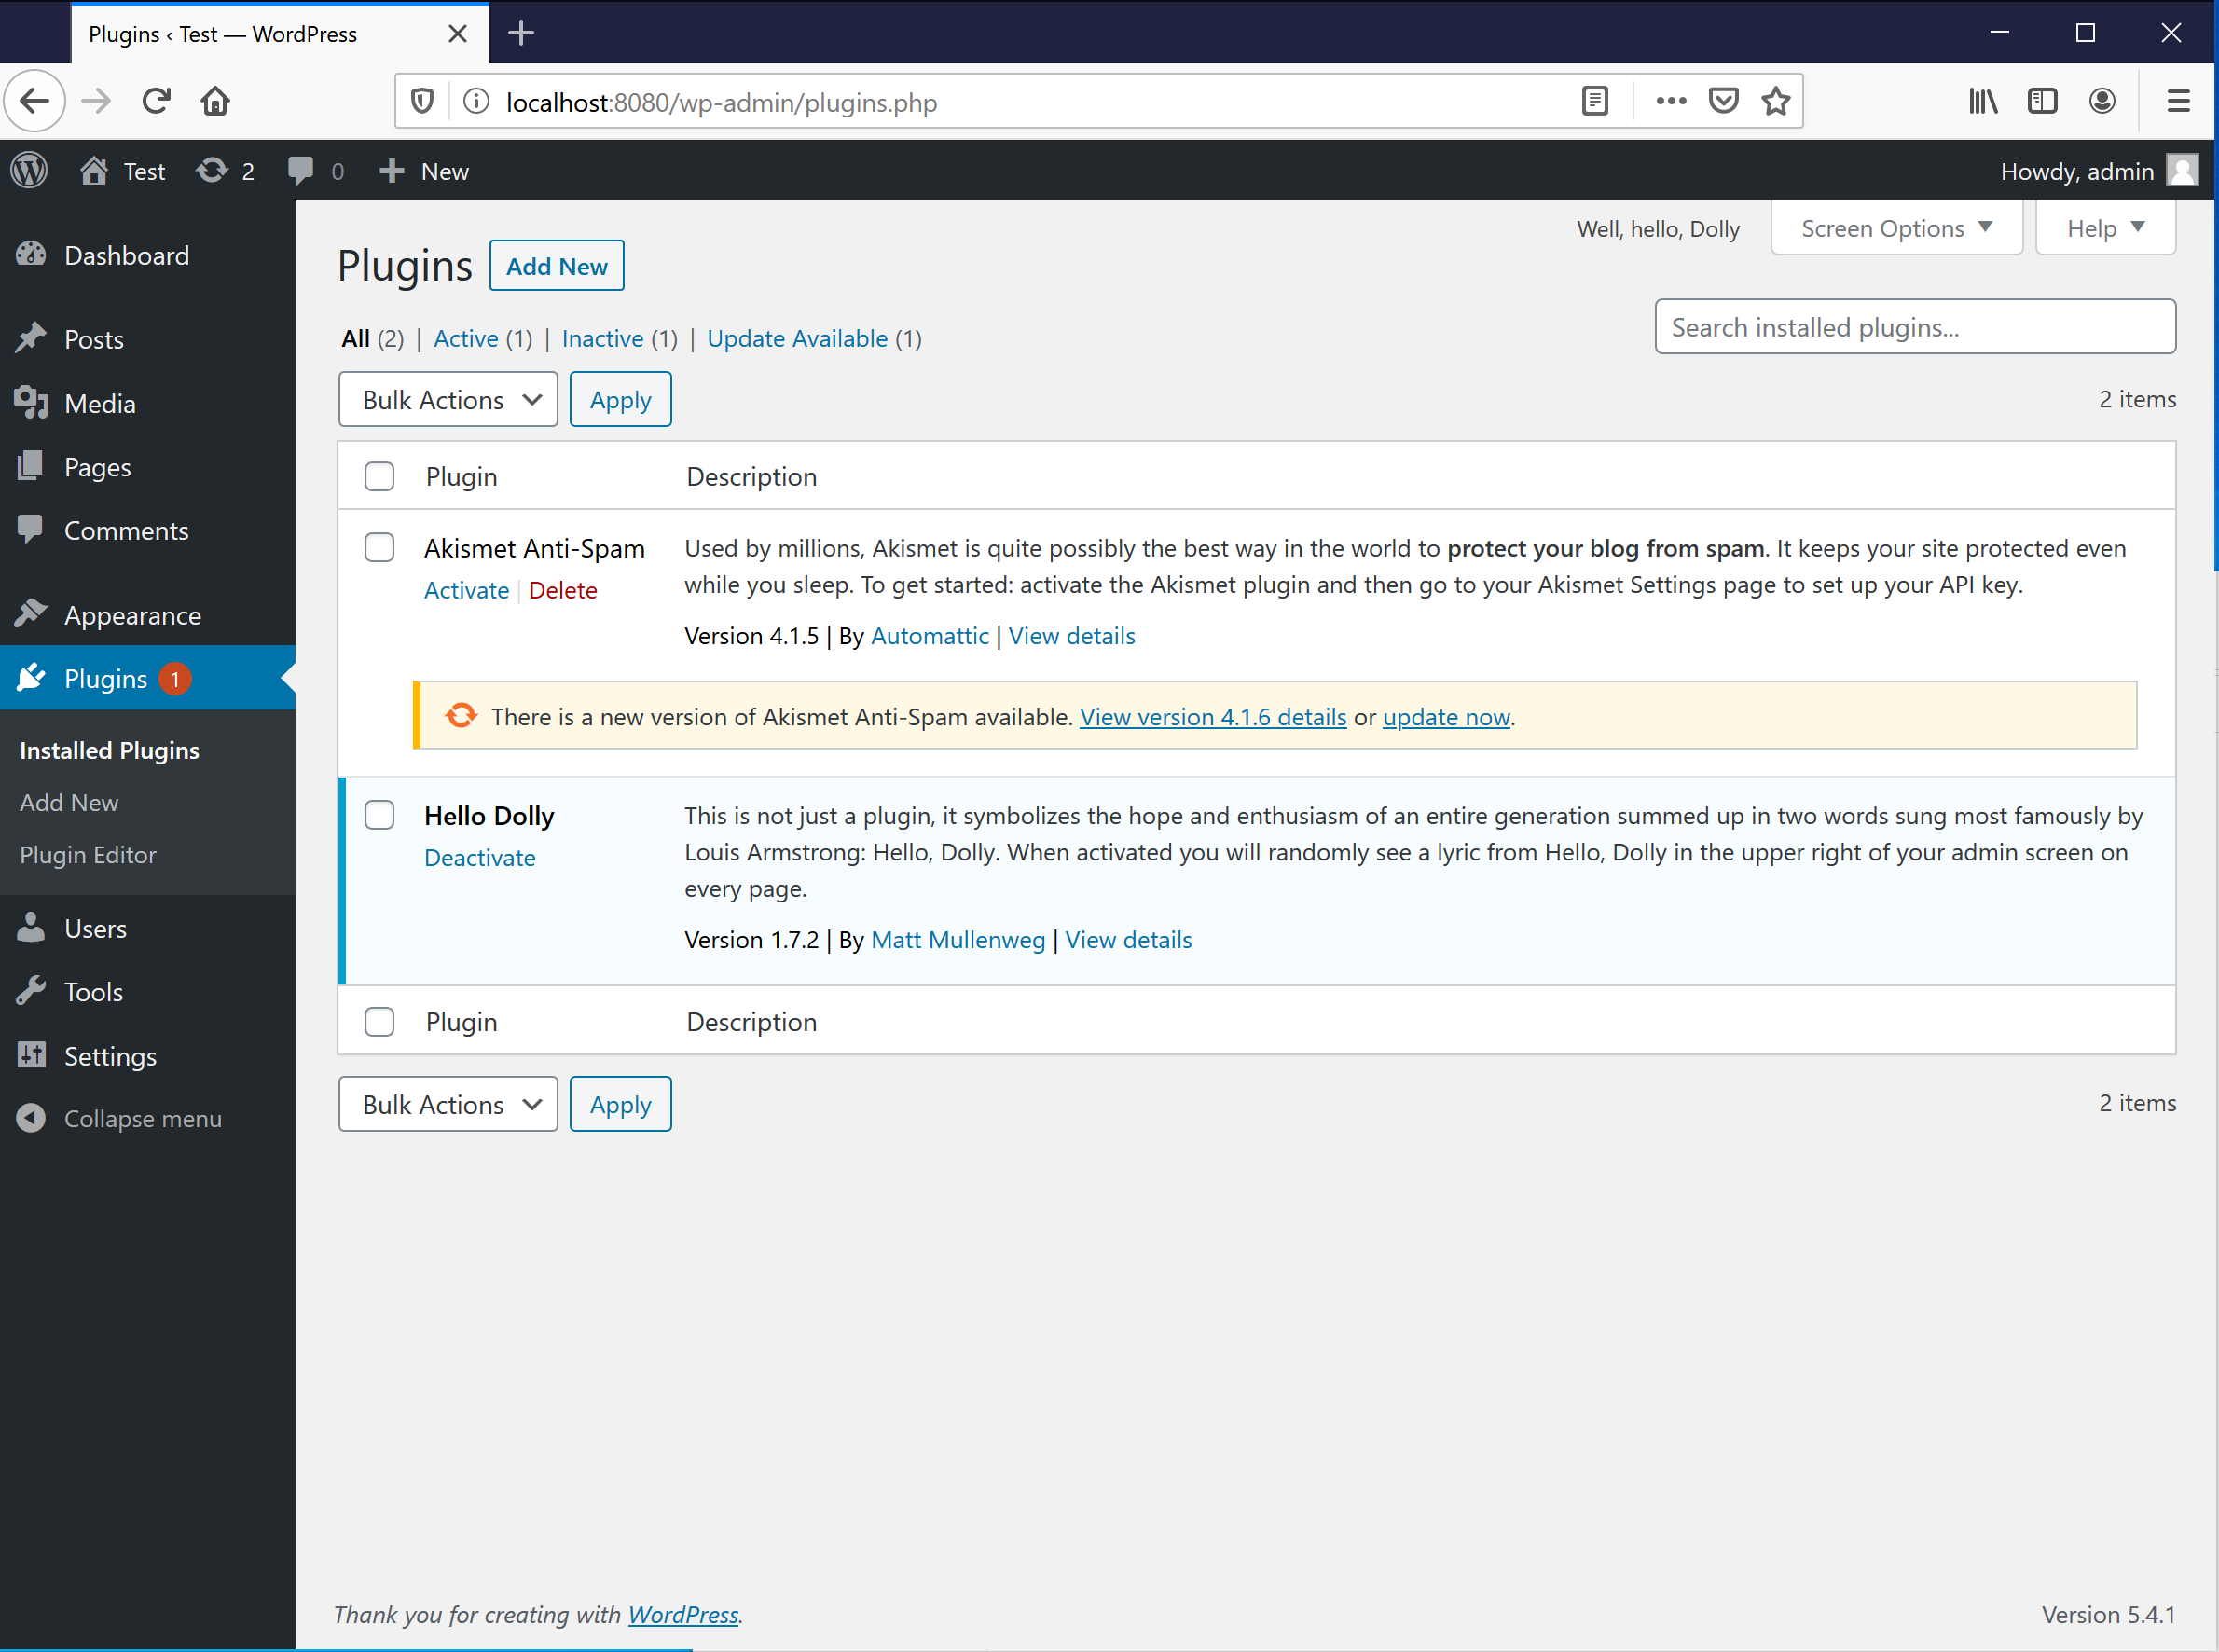
While I could be more thorough, I know this means that read/write is working on both sides.
Time to move to Linux.
Running the stack on Linux
Depending on the Linux distribution you're using, the Docker and docker-compose installation steps might differ.
In this example, I'm using a Ubuntu host machine; you can find the installation instructions here.
Whatever the distribution, I've followed the post-installation steps to make sure I can run the docker command without requiring sudo. It's not needed, but it's the reason I'm not using sudo in the examples, and it makes the use of docker and docker-compose easier.
I start by checking the version of the two commands:

I've reproduced the same starting directory structure as the macOS example:
- The project lives in the
/home/luca/Repos/wp-dockerdirectory. - The directory only contains, to start, the
docker-compose.ymlfile.

As I did on macOS and Windows before, I spin up the stack with docker-compose up and wait for the WordPress installation to be ready:
As has been the case on macOS and Windows, docker-compose created and filled the wp-docker/_wordpress directory with the WordPress installation contents:
Repos/wp-docker » tree -L 2
.
├── docker-compose.yml
└── _wordpress
    ├── index.php
    ├── license.txt
    ├── readme.html
    ├── wp-activate.php
    ├── wp-admin
    ├── wp-blog-header.php
    ├── wp-comments-post.php
    ├── wp-config.php
    ├── wp-config-sample.php
    ├── wp-content
    ├── wp-cron.php
    ├── wp-includes
    ├── wp-links-opml.php
    ├── wp-load.php
    ├── wp-login.php
    ├── wp-mail.php
    ├── wp-settings.php
    ├── wp-signup.php
    ├── wp-trackback.php
    └── xmlrpc.php

4 directories, 18 files
Again, as I did on macOS and Windows, I check if the read/write operations work correctly between the host and the running WordPress container.
As a first step, I try to delete the "Hello Dolly" plugin, a single file, from the host to see if this has the expected effect on the running WordPress installation.
The expected effect is to not see the "Hello Dolly" plugin among the available plugins.
Repos/wp-docker » rm -rf _wordpress/wp-content/plugins/hello-dolly
rm: cannot remove '_wordpress/wp-content/plugins/hello-dolly/hello.php': Permission denied
rm: cannot remove '_wordpress/wp-content/plugins/hello-dolly/readme.txt': Permission denied
Repos/wp-docker »
Differently from what happened on macOS and Windows, I cannot delete a file created by the container from the host.
I check the file modes to understand why:
Repos/wp-docker » whoami
luca
Repos/wp-docker » ls -la _wordpress/wp-content/plugins/hello-dolly
total 16
drwxr-xr-x 2 www-data www-data 4096 Jun  6 16:58 .
drwxr-xr-x 4 www-data www-data 4096 Jun  6 16:58 ..
-rw-r--r-- 1 www-data www-data 2593 Jun  6 16:58 hello.php
-rw-r--r-- 1 www-data www-data  623 Jun  6 16:58 readme.txt
Repos/wp-docker » id -u
1002
Repos/wp-docker » id -u www-data
33
The
id -u [<user>]will return the user ID of either the current user,lucain my example, or the ID of the specified user,www-datain the second example.
What the output above means is:
- the
_wordpress/wp-content/plugins/hellodirectory is owned by thewww-datauser, with user ID33 - my user is
luca, with user ID1002 - due to how user permission and file ownership work on Linux, a user that has no super-user (
su) rights cannot modify or delete other user files.
Ok, but where does the www-data user come from?!
In short: Apache web-server.
The official wordpress image available on Dockerhub is based on a Linux machine that serves the WordPress installation using Apache; the Apache user has ID 33.
So, in Linux, the owner of the files created by a running container is the user the container is currently using.
I execute a command on the running wordpress container to make sure of this:
Repos/wp-docker » docker ps
CONTAINER ID        IMAGE               COMMAND                  CREATED             STATUS              PORTS                  NAMES
a19f327780d2        wordpress           "docker-entrypoint.s…"   20 minutes ago      Up 20 minutes       0.0.0.0:8080->80/tcp   wp-docker_wordpress_1
d21785e9fcca        mysql:5.7           "docker-entrypoint.s…"   20 minutes ago      Up 20 minutes       3306/tcp, 33060/tcp    wp-docker_db_1
Repos/wp-docker » docker exec a19f327780d2 whoami
root
The user of the wordpress container is not www-data, as expected, but root.
And not my root, but the root user of the Linux installation. So: where does that www-data user Apache is running for, come from?
Finding where the www-data user comes from takes some searching, but looking at the official WordPress image files I can see the Apache user will be set to the www-data one if the APACHE_RUN_USER and APACHE_RUN_GROUP environment variables are not specified.
From the Ubuntu host I can still modify the files using sudo:
Repos/wp-docker » sudo rm -rf _wordpress/wp-content/plugins/hello-dolly
[sudo] password for luca:
Repos/wp-docker »
But having to use sudo to delete files or any other modifications to the files belonging to the WordPress installation is not a viable way of working.
In my next post, I will focus on the Linux version of the stack to solve this problem.